Build Todo-List from scratch using Html, CSS, and Javascript(LocalStorage).

Software Engineer | Backend Engineer | Devops Engineer
How is it going techies, have you ever built a to-do list using Javascript, and the items in the app get removed immediately after reloading or have you ever wondered how you can build a todo-list with Javascript?
If yes, then this article is for you, in this article we will build a to-do list from scratch using Html, CSS, and Javascript, we will also take advantage of Javascript's LocalStorage API for data persistency.
Let us get started,
PREREQUISITES
- Code Editor: To continue please make sure to have any code editor of your choice installed, Visual Studio Code(VS Code) was used in this article, but you are free to use any code editor of your choice.
- Web Browser: We will also need a web browser, you can use any web browser of your choice, in this article Brave was used.
- Live Server(Optional): Live Server is a Visual Studio Code extension that reloads your webpage whenever the static files change. You don't have to use this extension to continue especially if you are not using VS Code.
Setup
- Create a folder on your computer and open it with your code editor.
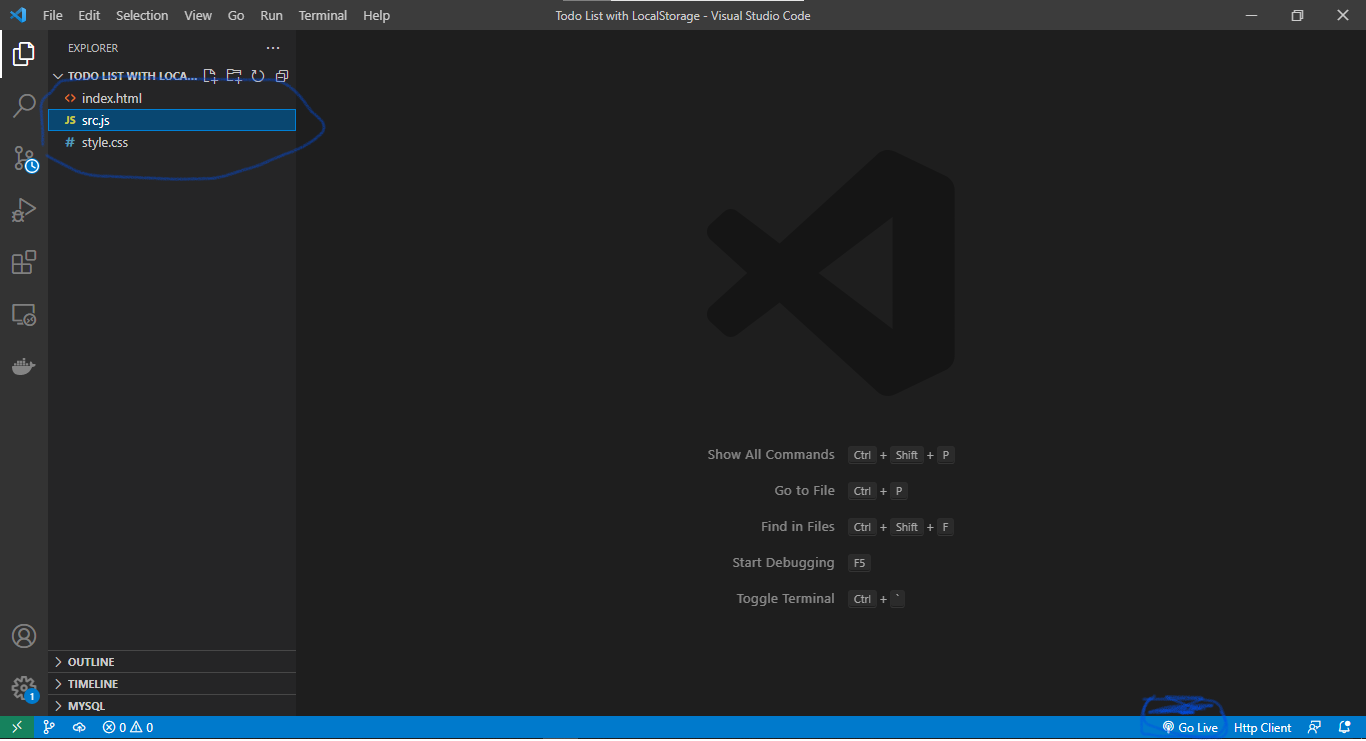
- Create 3 files in your workspace namely index.html, style.css and src.js. After this, your workspace should look like the image below(for vs code users).
- Open your index.html in your preferred browser, if you are using vscode and you have live server installed, click the Go Live link at the bottom right corner of your code editor. Live server will open your project on the browser and reload your webpage automatically when changes are applied to your code.
Now let's code!
In your index.html file add the following code
<!DOCTYPE html>
<html lang="en">
<head>
 <meta charset="UTF-8">
 <meta http-equiv="X-UA-Compatible" content="IE=edge">
 <meta name="viewport" content="width=device-width, initial-scale=1.0">
 <title>Todo App</title>
 <link rel="stylesheet" href="style.css">
</head>
<body>
 <div class="main-wrapper">
     <div class="action-wrapper">
         <input type="text" id="input"> <button id="add_btn">Add</button>
     </div>
     <div class="list-wrapper" id="item_list_container">

     </div>
 </div>
 <script src="src.js"></script>
</body>
</html>
What's going on up here?
Nothing much here, the code above represents a basic HTML page that represents the structure of our webpage. However, there are a few things to note. Within the head tag of our code there is
<link rel="stylesheet" href="style.css">, this is used to link the style.css that we created initially to our HTML page so that we can use the CSS file to design our HTML page, also right before the closing body tag we have<script src="src.js"></script>this is used to load out src.js file into our HTML page.In your style.css file add the following code
.main-wrapper{
 display: inline-flex;
 flex-direction: column;
 align-items: center;
 justify-content: center;
 width: 100%;
 padding: 20px 0%;
}
.action-wrapper{
 padding: 30px;
}
.action-wrapper input{
 font-size: 1rem;
 padding: 10px;
 border: blue 1px solid;
}
.action-wrapper button, .item-actions button{
 padding: 12px;
 background-color: blue;
 color: white;
 font-weight: bolder;
 border: solid 1px rgb(112, 153, 153);
}
.action-wrapper button:hover, .item-actions button:hover{
 background-color: white;
 color: black;
 border: blue 1px solid;
 cursor: pointer;
}
.list-item{
 width: 100%;
 margin: 20px 0%;
 display: inline-flex;
 align-items: center;
 justify-content: center;
}
.item-name{
 padding: 10px;
 font-size: 1.2rem;
}
What's going on up here?
This is just basic CSS code to add some simple styles to our web page.
In your src.js file add the following code
const id = (x) => {
    return document.getElementById(x);
}
let input = id('input');
let addBtn = id('add_btn');
let listContainer = id('item_list_container');
let itemList = localStorage.itemList ? JSON.parse(localStorage.itemList) : [];


const renderList = () => {
    listContainer.innerHTML = ``;
    for (let i = itemList.length - 1; i > 0; i--) {
        listContainer.innerHTML += `
            <div class="list-item">
                <div class="item-name">
                    ${itemList[i]}
                </div>
                <div class="item-actions">
                    <button onclick="editItem(${i})">Edit</button>
                    <button onclick="deleteItem(${i})">Delete</button>
                </div>
            </div>
        `;
    }
}

const addEvent = () => {
    let value = input.value;
    if (value.length > 0) {
        itemList.push(value);
        input.value = "";
    } else {
        alert("Please specify a name for your task");
    }
    localStorage.itemList = JSON.stringify(itemList);
    renderList();
}

const deleteItem = (index)=>{
    let item = itemList[index];
    if(item != undefined){
        itemList.splice(index, 1);
        localStorage.itemList = JSON.stringify(itemList);
        renderList();
    }else{
        alert("Item has already been deleted.");
    }
}

const editItem = (index)=>{
    let item = itemList[index];
    if(item != undefined){
        let ask = prompt(`Change "${item}" to : `);
        if(ask.length > 0){
            itemList[index] = ask;
            localStorage.itemList = JSON.stringify(itemList);
            renderList();
        }
    }else{
        alert("Item not available in list.");
    }
}

addBtn.addEventListener("click", (e) => {
    e.preventDefault();
    addEvent();
})

renderList();
What's going on up here?
The code above is responsible for handling all the actions performed on our webpage. This is a block by block explanation of the code. :
At the beginning of our file we have :
const id = (x) => {
  return document.getElementById(x);
}
The id function is a shorthand used to get elements from the DOM by passing the element's id, the function was created to simply shorten the
document.getElementById()method.Variable declarations
let input = id('input');
let addBtn = id('add_btn');
let listContainer = id('item_list_container');
let itemList = localStorage.itemList ? JSON.parse(localStorage.itemList) : [];
The input, addBtn, and listContainer variable are assigned to the id function with the augment as the corresponding id of the element we want to assign to them.
- The input variable represents
<input type="text" id="input">from our html file. - The addBtn variable represents
<button id="add_btn">Add</button>from our html file. - The listContainer variable represents
<div class="list-wrapper" id="item_list_container"></div>from our html file. - The itemList variable contains the to-do item list from localStorage, we used a ternary operator to check if the ltemList is available in localStorage then we parse the string and assign it to our variable or we just assign an empty array. This is to ensure that at least an array is assigned to the variable.
- The input variable represents
renderList function.
const renderList = () => {
    listContainer.innerHTML = ``;
    for (let i = itemList.length - 1; i > 0; i--) {
        listContainer.innerHTML += `
            <div class="list-item">
                <div class="item-name">
                    ${itemList[i]}
                </div>
                <div class="item-actions">
                    <button onclick="editItem(${i})">Edit</button>
                    <button onclick="deleteItem(${i})">Delete</button>
                </div>
            </div>
        `;
    }
}
The renderList function is simply used to populate to-do items onto our webpage. Below is the list of actions performed inside this function.
- First, we empty all the elements inside the listContainer by adding
listContainer.innerHTML = ``;.- Then we loop through itemList array in descending order and then we add an HTML markup into the listContainer for each of the iterations. The loop was written in ascending order so that newer items will be at the top of the list.
addEvent function
const addEvent = () => {
    let value = input.value;
    if (value.length > 0) {
        itemList.push(value);
        input.value = "";
    } else {
        alert("Please specify a name for your task");
    }
    localStorage.itemList = JSON.stringify(itemList);
    renderList();
}
The addEvent function as the name implies is used to add new events to our to do list.
- First we try to access the value typed into our input by using
let value = input.value;.- Then we write a condition to check if something was actually typed into the box. If true we add the newly added item into the itemList array by using
itemList.push(value);then we empty the input box by usinginput.value = "";. If nothing was typed into the box we show an alert that nothing was typed.- After the conditional statement we update the itemList in our localStorage by using
localStorage.itemList = JSON.stringify(itemList);then we runrenderList();to update the webpage with the new item.
deleteItem function.
const deleteItem = (index)=>{
  let item = itemList[index];
  if(item != undefined){
      itemList.splice(index, 1);
      localStorage.itemList = JSON.stringify(itemList);
      renderList();
  }else{
      alert("Item has already been deleted.");
  }
}
The deleteItem function is used to remove a particular item from the to-do list.
- The function receives one parameter index that represents the position of the item we want to delete from the to-do list.
- Then we write a condition to check if the item we are trying to delete is available. If true we remove the item but adding
itemList.splice(index, 1);then we update the localStorage itemList usinglocalStorage.itemList = JSON.stringify(itemList);after this we runrenderList();to update the items in our to-do list. If the item is not found we send an alert that the item has already been deleted.
editItem function
const editItem = (index)=>{
    let item = itemList[index];
    if(item != undefined){
        let ask = prompt(`Change "${item}" to : `);
        if(ask.length > 0){
            itemList[index] = ask;
            localStorage.itemList = JSON.stringify(itemList);
            renderList();
        }
    }else{
        alert("Item not available in the list.");
    }
}
This function is very identical to deleteItem() function, the only difference is that instead of deleting from the itemList we update the value of the itemList at a particular index.
- After writing the condition identical to that of deleteItem(), we open a prompt asking the user what they want to change the item to, using
let ask = prompt(`Change "${item}" to : `);;- Then we confirm that the user typed something into the prompt, if yes we update the value of the itemList at the provided index using
itemList[index] = ask;, we update the localStorage itemList usinglocalStorage.itemList = JSON.stringify(itemList);, and we runrenderList();to update the items in our to-do list.
At the end of our file
- First we add a click event listener on the
addBtnelement using - Then we run the
renderList()function to render our list after the page has been loaded and all the Javascript has been executed.
- First we add a click event listener on the
addBtn.addEventListener("click", (e) => {
    e.preventDefault();
    addEvent();
})

renderList();
Watch me do this on youtube.
NOTE
In our code, whenever we want to read from localStorage we always use
JSON.parse()and whenever we want to write to it we always useJSON.stringify, this is because we are trying to store and retrieve an array from the localStorage, and localStorage only accept strings. Also the localStorage has a maximum usage limit of 5Mb.


